How To Install TeamViewer QuickSupport via ADB (Amazon Fire TV)
by January 13, 2017 11:37 am 0

In this guide I will show you how to install TeamViewer QuickSupport on your Amazon Fire TV and control it remotely from your computer:
Note: Your Fire TV must be rooted for the remote control function to work properly.
For my video guide that does not require ADB or a computer to install QuickSupport click here
To install the app:
1. Download the TeamViewer QuickSupport APK (Make note of the file’s location on your PC)
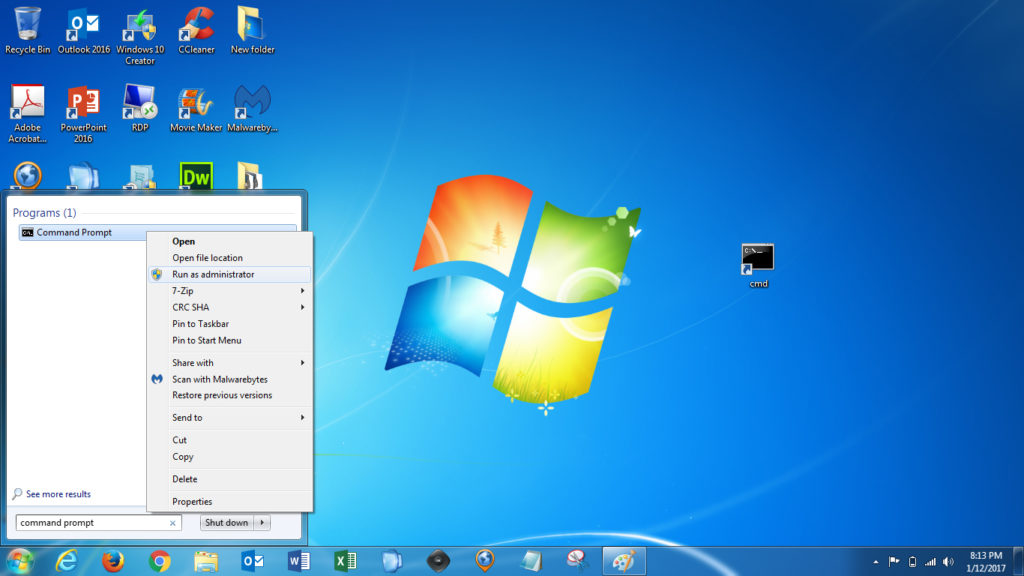
2. Open an administrative command prompt (search for command prompt, right click it, and select Run as administrator)
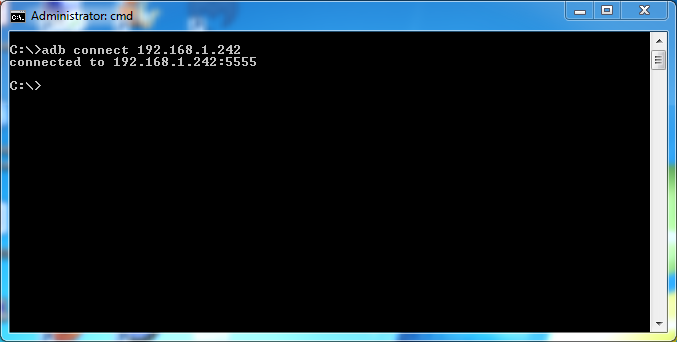
3. Connect to your Fire TV via ADB using the command adb connect <ip address> (On your Fire TV you will need to have ADB Debugging enabled (Settings -> Device -> Developer Options) and you will need to find your AFTV’s IP address (Settings -> Device -> About -> Network))
4. Install TeamViewer QuickSupport with the command adb install <file location>
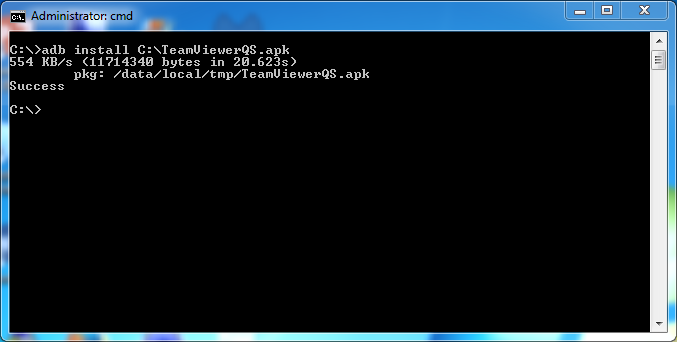
5. TeamViewer QuickSupport should now be installed on your Fire TV
To connect via TeamViewer to your AFTV:
1. Open the TeamViewer QuickSupport app on your Fire TV (Leave it open during connection process)
2. Open TeamViewer on your computer (install it now if you haven’t already – TeamViewer)
3. On your computer, type in the partner ID from your Fire TV and click Connect
4. On the Fire TV you will receive two prompts, the first one you will need to click Allow to establish the connection and the second one you must click Grant to grant TeamViewer root access.
5. You should now be connected to your AFTV via TeamViewer
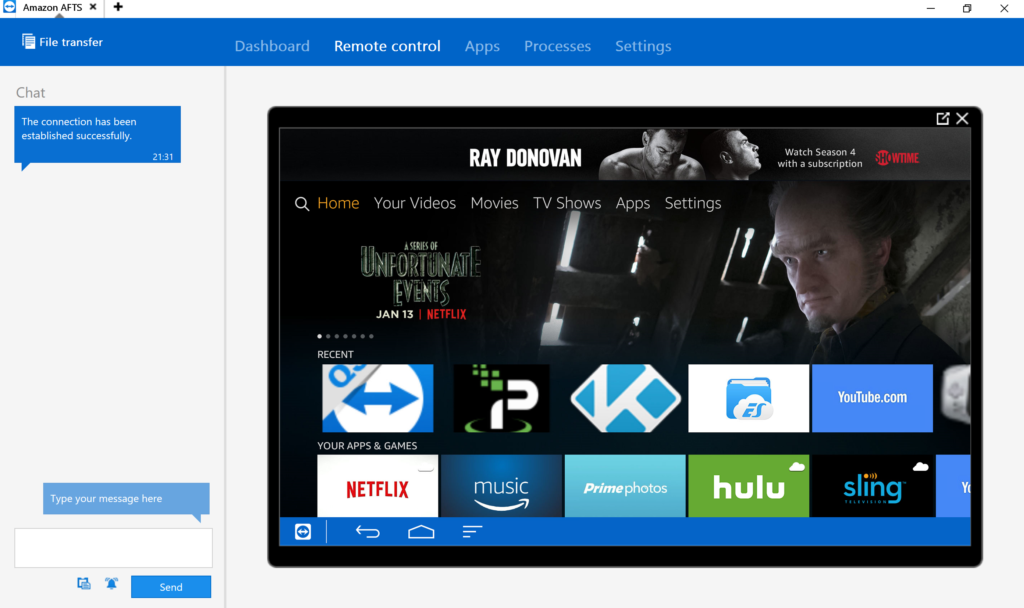
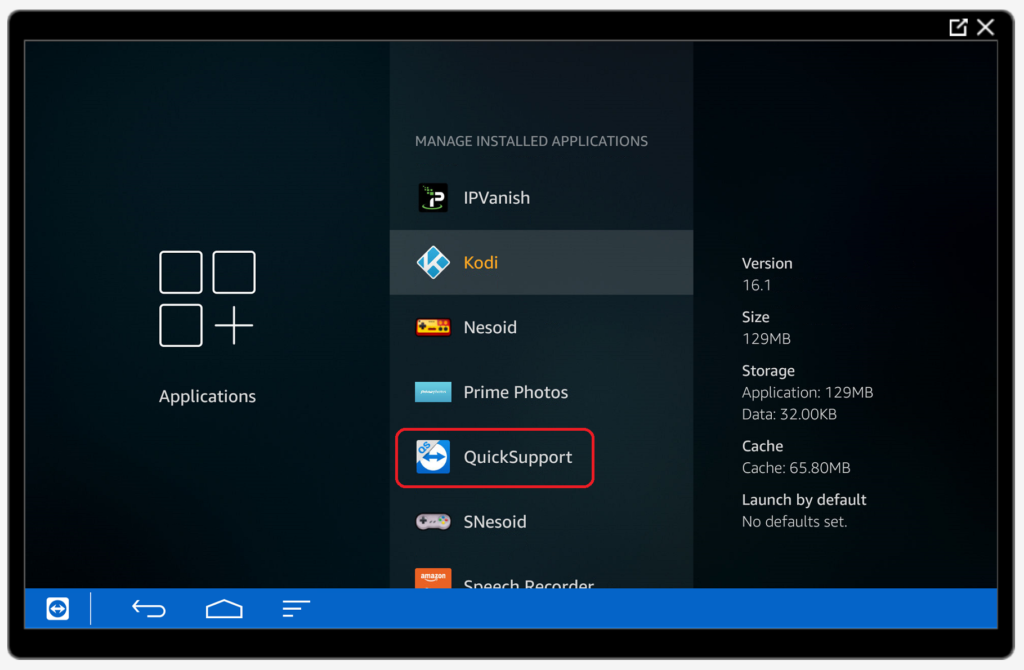
6. As you can see TeamViewer QuickSupport is now listed in my installed applications
Note: For me, the latest version of TeamViewer QuickSupport (12) was buggy when I connected with my computer, so I installed version 11 instead and it worked perfectly.


