
How To Remove a Printer From Your Computer (Windows and Mac)
by January 6, 2017 6:38 pm 0

To remove a printer from your computer:
Windows:
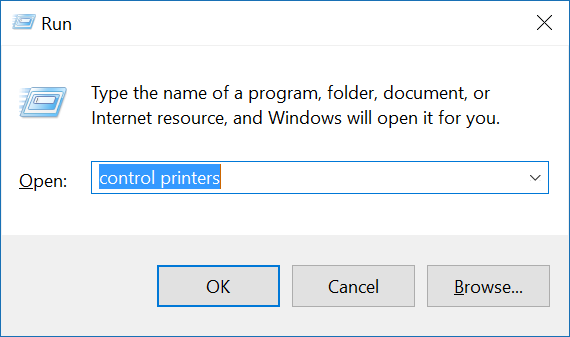
1. Press Windows Key + R on your keyboard to open the run dialog box
2. Type in “control printers” and press OK (alternatively you can open the control panel and select Devices and Printers)
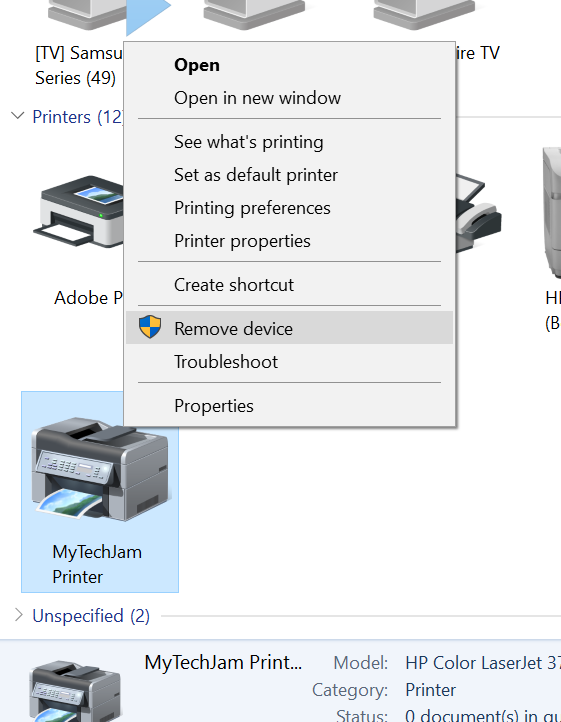
3. Right click on the printer you would like to delete and select Remove Device
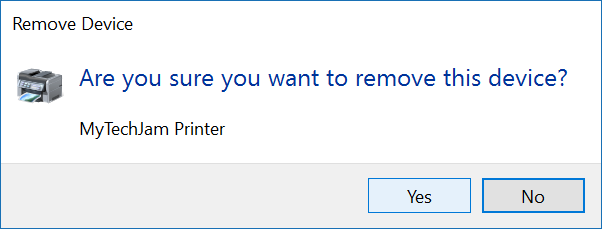
4. Select Yes when asked if you are sure you want to remove the device
Note: On a professional version of Windows if you would like to manually remove printer drivers you can do so in Control Panel -> Administrative Tools -> Print Management. Once there just right click the driver you would like to uninstall and select “Remove Driver Package”
Mac:
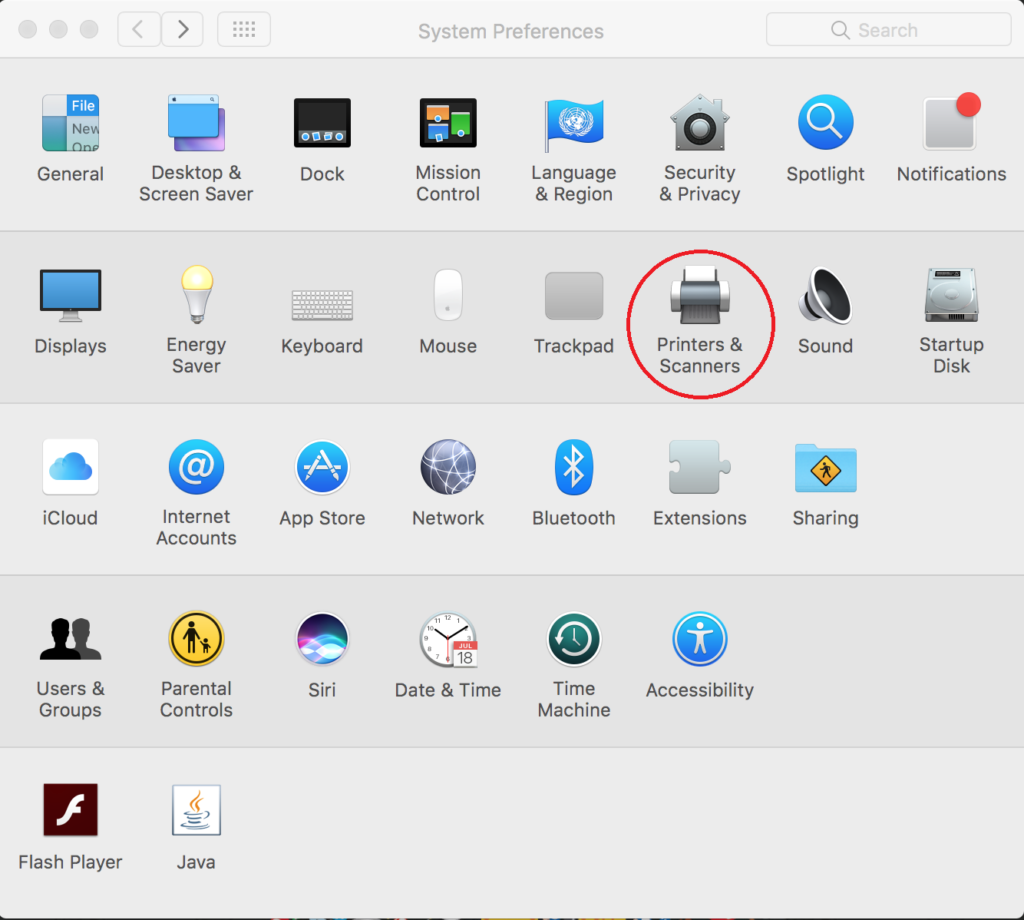
1. Open System Preferences
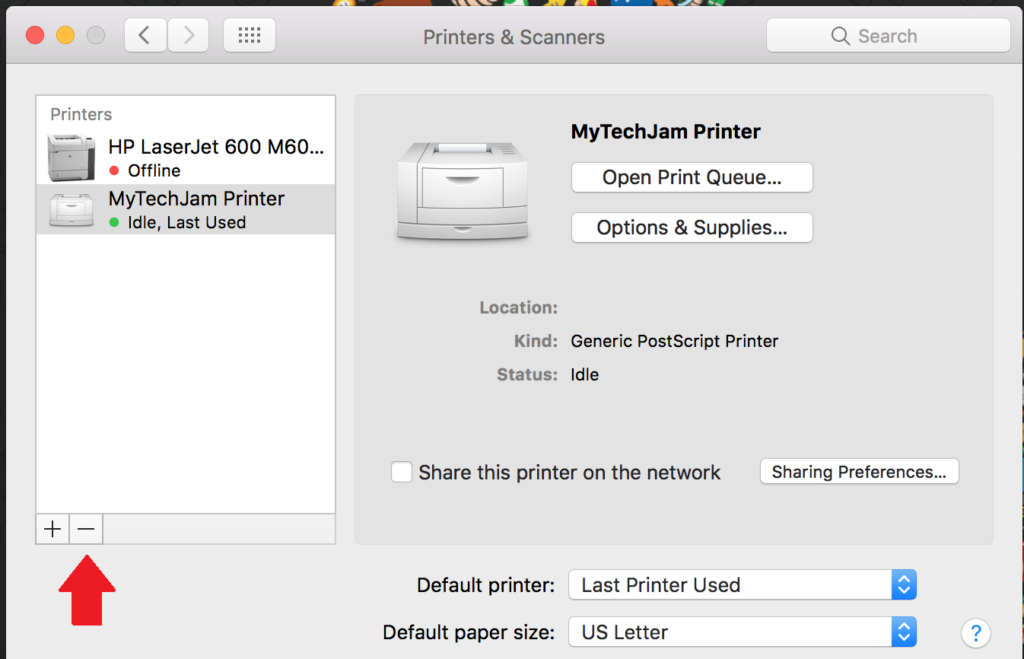
2. Select Printers & Scanners
3. Select the printer you would like to delete on the left and press the minus sign at the bottom of the list
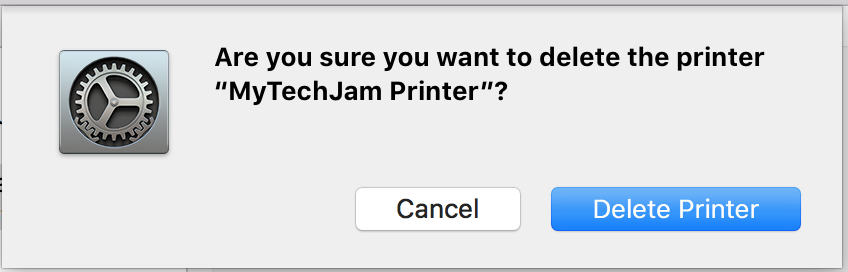
4. Select “Delete Printer” in the dialog box displayed
Related posts

Amazon / by - September 24, 2017 10:59 pm
How To Jailbreak The Amazon Fire TV Stick | September 2017
Check out my updated video guide (September 2017) on how to jailbreak your Amazon Fire TV or Fire TV Stick and install Kodi 17.4 Krypton with the Covenant add on!…
Amazon / by - April 21, 2017 11:32 pm
How To Reset Kodi To Factory Defaults on Amazon Fire Stick
Check out my video guide on how to reset Kodi to factory defaults or factory reset Kodi on your Amazon Fire TV or Amazon Fire TV Stick.

Amazon / by - April 14, 2017 5:49 pm
How To Play MAME on Amazon Fire TV (Arcade Games)
Check out my video guide on how to play MAME arcade games on the Amazon Fire TV or Amazon Fire TV Stick. In this guide we will be using the…

Amazon / by - April 5, 2017 12:11 am
How To Jailbreak The Amazon Fire TV Stick | April 2017
Check out my updated video guide (April 2017) on how to jailbreak your Amazon Fire TV or Fire TV Stick and install Kodi 17 Krypton with the Exodus add on!…