
How To Assign a Static IP Address To Your Computer
by January 7, 2017 2:24 pm 0

In order to assign a static IP address to your computer:
Note: Before setting a static IP address you should scan your network with a scanner such as Angry IP Scanner to see which addresses are open and avoid conflicts.
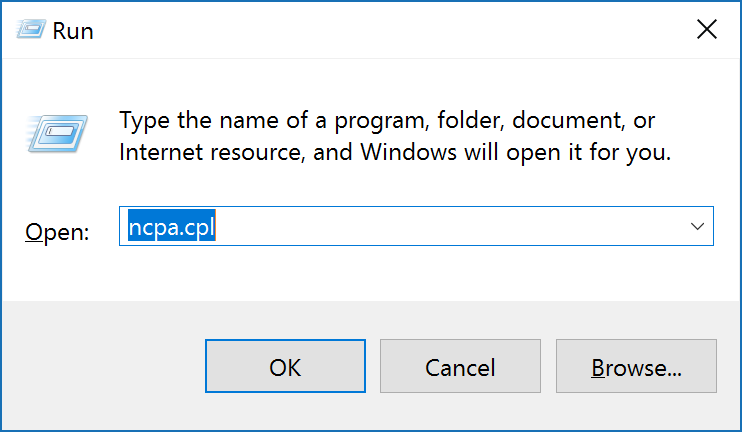
1. Press Windows Key + R on your keyboard to open the run dialog box
2. Type in “ncpa.cpl” and press OK (you can also access Network Connections by browsing to Control Panel (small icons view) -> Network and Sharing Center -> Change Adapter Settings)
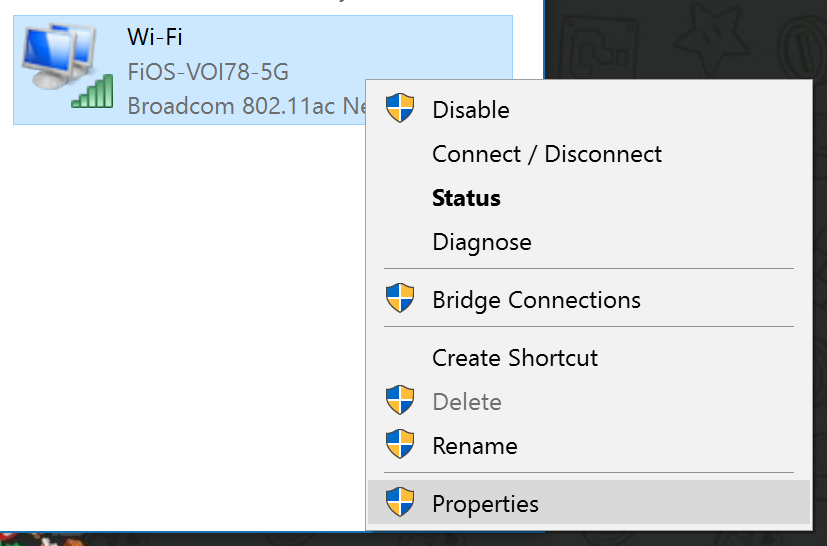
3. Find your network adapter, right click on it, and choose Properties
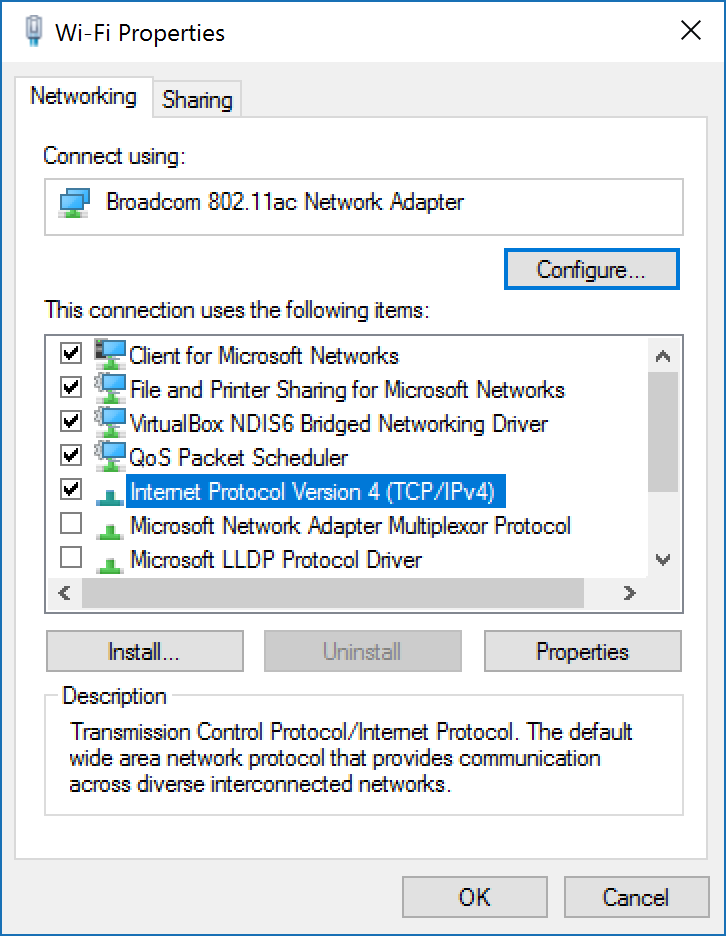
4. Select Internet Protocol Version 4 (TCP/IPv4) and click Properties
5. Choose Use The Following IP Address to enter your static IP address settings and/or Use The Following DNS Server Addresses to enter your static DNS settings (Note: These values are just an example – IP Address settings will be unique to your particular network and 8.8.8.8 and 8.8.4.4 are the Google Public DNS Addresses)
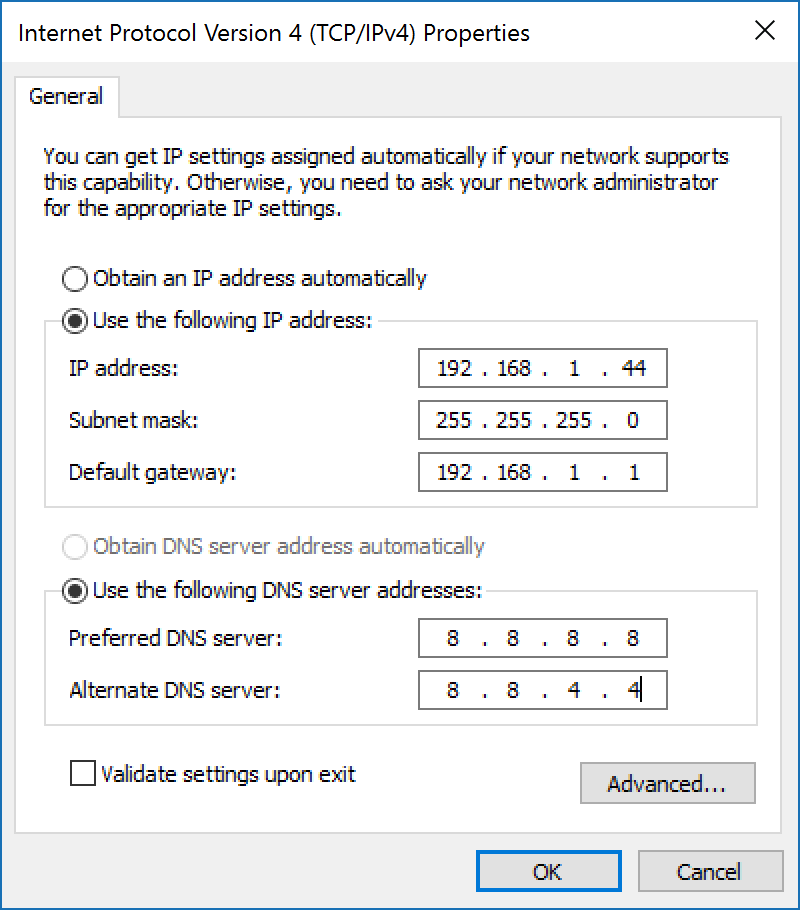
6. When you are done press OK and then Close to shut both of the open windows
Related posts

Amazon / by - September 24, 2017 10:59 pm
How To Jailbreak The Amazon Fire TV Stick | September 2017
Check out my updated video guide (September 2017) on how to jailbreak your Amazon Fire TV or Fire TV Stick and install Kodi 17.4 Krypton with the Covenant add on!…

Amazon / by - April 21, 2017 11:32 pm
How To Reset Kodi To Factory Defaults on Amazon Fire Stick
Check out my video guide on how to reset Kodi to factory defaults or factory reset Kodi on your Amazon Fire TV or Amazon Fire TV Stick.

Amazon / by - April 14, 2017 5:49 pm
How To Play MAME on Amazon Fire TV (Arcade Games)
Check out my video guide on how to play MAME arcade games on the Amazon Fire TV or Amazon Fire TV Stick. In this guide we will be using the…

Amazon / by - April 5, 2017 12:11 am
How To Jailbreak The Amazon Fire TV Stick | April 2017
Check out my updated video guide (April 2017) on how to jailbreak your Amazon Fire TV or Fire TV Stick and install Kodi 17 Krypton with the Exodus add on!…